
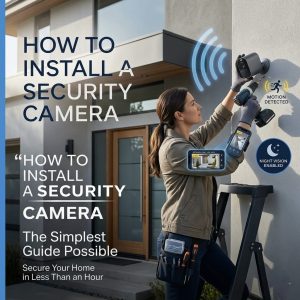
There is absolutely no need to make your life difficult when it comes to installing a security camera. Just by being prepared, you can install your camera in less than an hour. Here’s a small guide that will help you get started.
1. Choose Your Camera
Select the most appropriate camera to serve your purpose. Ideally, wireless or Wi-Fi security cameras are easier to install. A weatherproof security camera (IP65+ rating) is a better choice for installation outside the house along with night vision and motion detection capabilities.
2. Determine Where to Install it
Identify areas where you want to install security cameras. Focus on the major entry points in your house such as doors and windows, and mount the security camera above 8 to 10 feet from the ground for the best angles. Avoid placing the camera in direct sunlight.
3. Camera Mounting
Firstly mark the screw holes. Next, drill holes and screw your camera mounting base to the wall. Mount the camera onto the mounting base and adjust it so that the camera captures the entire area. While installing cameras outside, remember to apply silicone caulk around the cable holes to keep the water from getting inside.
4. Connecting the camera
Connect a wireless security camera to your internet using the software provided by the camera manufacturer. Alternatively, connect the wire to your NVR/DVR. Now that everything has been installed and connected properly, enable motion alerts, set recording times and passwords for extra security.
Test whether the camera’s field of view is working. Test the night vision function in darkness and check whether the live stream from your smartphone functions.
__________________________________________________________________
And you’re done! A strategically placed security camera does wonder in securing your property. Install a camera, test it out, and expand your setup when necessary.