
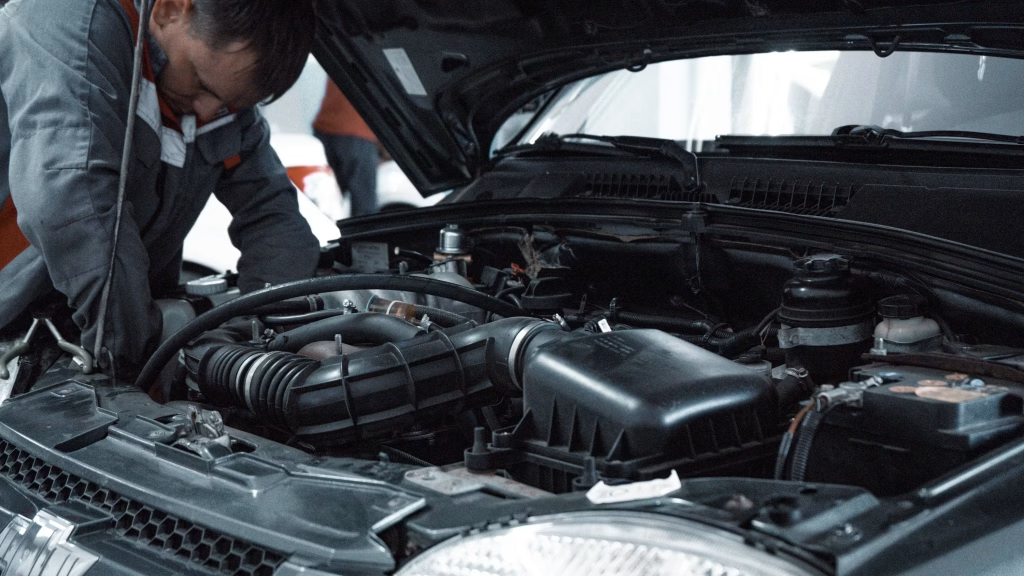

Popping your hood to perform routine maintenance or check fluid levels becomes far less enjoyable when you are greeted by thick layers of grime, road salt, and baked-on oil sludge. While most car owners diligently wash their vehicle exterior and vacuum the carpets, the engine compartment is often left completely untouched out of fear of damaging sensitive electronics. Learning how to clean car engine bay safely removes that fear, turning a daunting chore into a straightforward DIY maintenance job.
A clean engine bay does far more than just look impressive when you open the hood. Removing accumulated dirt makes it vastly easier to spot early fluid leaks, prevents corrosion on metal brackets, and keeps your engine running slightly cooler by removing insulating sludge. Integrating engine cleaning into your broader Car Maintenance Tips schedule helps maintain your vehicle value and makes long-term servicing much cleaner.
Why Keeping Your Engine Compartment Clean Matters
Over thousands of miles of driving, fine dust, road salt, fluid residue, and dry leaves settle into every crevice under your hood. This debris retains moisture and accelerates rust formation on exposed metal bolts and brackets.
Furthermore, heavy oil and dirt buildup acts as a blanket, trapping heat around critical engine components. Severe oil deposits can even degrade rubber coolant hoses and serpentine belts over time, leading to premature component failure. Cleaning the engine bay allows heat to dissipate effectively and ensures you notice minor valve cover gasket leaks or cooling system weepage before they become expensive repair jobs.
Essential Tools and Materials You Will Need
Before starting, gather all your supplies in one place so you do not have to interrupt the process midway:
- Degreaser spray specifically formulated for automotive engine bays
- Soft-bristled detailing brushes and a stiff nylon brush
- Plastic sandwich bags, aluminum foil, and painter tape
- High-pressure water hose with a spray nozzle or a low-pressure power washer
- Microfiber towels for drying and wiping down plastics
- Plastic dressing or protectant spray for finishing touches
- Eye protection and rubber gloves
Preparation and Protecting Sensitive Electronics
Preparation is the most critical phase when figuring out how to clean car engine bay safely. Modern engine bays are packed with delicate sensors, exposed wiring harnesses, and sensitive control modules that must be shielded from direct water pressure.
Let the Engine Cool Down Completely
Never spray cold water onto a hot engine. Thermal shock can instantly crack a hot exhaust manifold, warp metal components, or damage sensitive electronic housings. Ensure the engine has been turned off for at least two to three hours before beginning.
Cover All Vulnerable Components
Use plastic bags, aluminum foil, and painter tape to completely seal sensitive parts. Pay special attention to covering the alternator, battery terminals, engine control unit (ECU), fuse box, and exposed air intake filters. Wrapping these items tightly prevents water from entering electrical connectors and causing short circuits.
Step by Step Cleaning Process
Once your vulnerable components are securely wrapped, you are ready to begin the actual cleaning process.
Step 1: Remove Loose Debris
Use a dry vacuum, leaf blower, or soft brush to clear away loose leaves, pine needles, twigs, and dirt trapped around the windshield cowl, hood hinges, and battery tray. Removing dry material first stops it from turning into sticky mud once you apply liquid degreaser.
Step 2: Apply Automotive Degreaser
Spray a generous amount of automotive degreaser starting from the dirtiest bottom sections and working your way up. Avoid spraying degreaser directly onto painted body panels. Allow the chemical degreaser to dwell for five to ten minutes so it can break down grease and road grime.
To understand more about the chemical composition of automotive cleaners and safety standards, you can read the comprehensive breakdown on [Outbound Link: Automotive Degreaser Safety and Chemical Standards] to choose the safest product for your vehicle seals.
Step 3: Agitate Stubborn Dirt with Brushes
While the degreaser dwells, use a soft detailing brush to scrub persistent dirt buildup around intake manifolds, valve covers, and plastic engine covers. Use a longer stiff brush to reach lower engine brackets and frame rails where grease collects.
Step 4: Rinse Gently with Water
Rinse the engine compartment using a gentle, wide fan spray from your hose. Never use high-pressure water directly on electrical connectors, sensor plugs, or alternator vents. Keep the nozzle moving continuously rather than focusing a stream on one spot.
Drying and Detailing for a Factory Finish
Rinsing is only half the job; drying your engine bay properly prevents electrical issues and water spots on metal surfaces.
Carefully remove the plastic bags and foil covers from your alternator, air intake, and fuse box. Use a leaf blower, compressed air nozzle, or fresh microfiber towels to blow away standing water trapped in deep bolt holes and spark plug wells. Once the surface water is removed, start the engine and let it idle for ten to fifteen minutes. The heat generated by the engine will evaporate remaining moisture in hard-to-reach crevices.
Finally, apply a light coat of water-based plastic protectant to black plastic intake covers, rubber hoses, and fan shrouds. Wipe off any excess fluid with a microfiber towel to achieve a clean, non-greasy factory finish.
Knowing how to clean car engine bay safely transforms the appearance of your vehicle and makes routine mechanical checks much simpler. By taking the time to cover electrical sensors and using gentle water pressure, you can enjoy a spotless engine bay without risking any electronic malfunctions.