
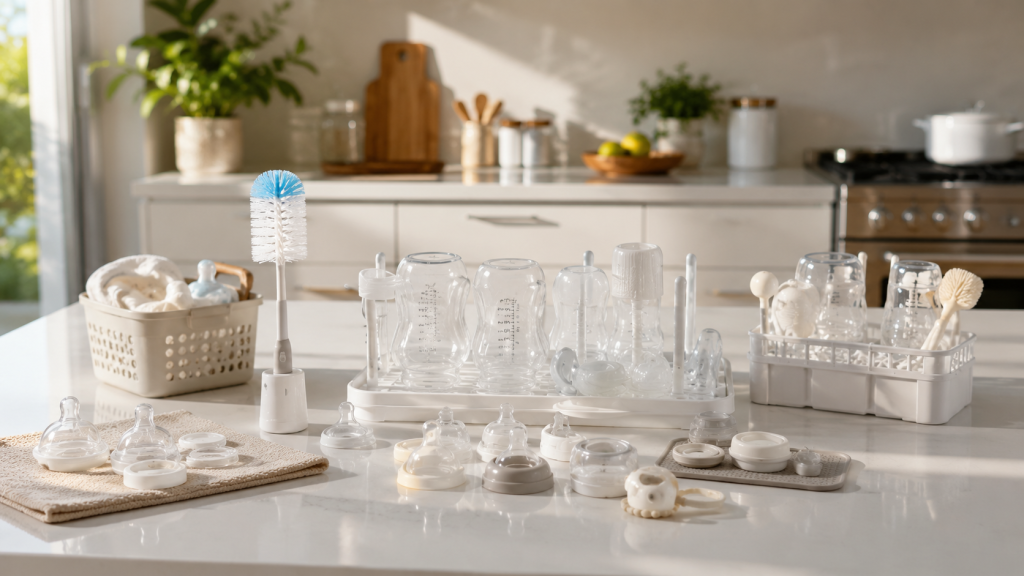
Learning how to clean baby bottles safely is an essential part of protecting your baby’s health. Every feeding leaves behind milk residue, and if bottles aren’t cleaned properly, harmful bacteria can grow quickly. Whether you’re feeding expressed breast milk or formula, maintaining clean bottles helps reduce the risk of infections and supports healthy development.
Many new parents believe that rinsing a bottle with water is enough. However, proper cleaning requires careful attention to every component, including the bottle, nipple, collar, cap, and valves. In addition, regular sterilization is also recommended for newborns and babies with developing immune systems.
This comprehensive guide explains how to clean baby bottles safely, which cleaning tools you need, when sterilization is necessary, and the common mistakes every parent should avoid.
Why Learning How to Clean Baby Bottles Safely Matters
A baby’s immune system is still developing, making proper hygiene especially important during the first year of life. As a result, leftover milk inside bottles can become a breeding ground for bacteria if feeding equipment isn’t cleaned thoroughly after every use.
Cleaning baby bottles correctly helps:
- Remove milk residue and bacteria
- Reduce the risk of stomach infections
- Prevent mold from growing inside bottle parts
- Keep bottle nipples hygienic
- Extend the lifespan of feeding bottles
- Ensure safe and healthy feeding every day
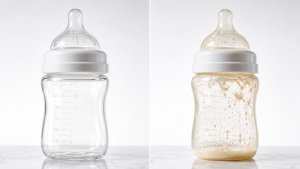
When Should You Clean Baby Bottles Safely?
Baby bottles should be cleaned immediately after every feeding. If you delay the cleaning process, milk proteins can dry onto the bottle, which makes residue harder to remove and increases the risk of bacterial growth.
After every feeding:
- Empty leftover milk.
- Rinse the bottle with cool or lukewarm water.
- Then, wash every removable part separately to remove milk residue completely.
- Finally, let all components air dry completely before reassembly.
Supplies Needed to Clean Baby Bottles Safely
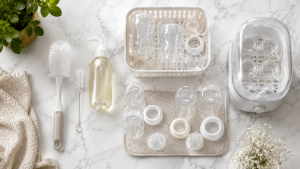
Before you begin cleaning, gather these essential items:
- Baby bottle brush
- Nipple cleaning brush
- Mild, fragrance-free dish soap
- Hot running water
- Clean drying rack
- Bottle sterilizer (optional but recommended)
- Clean basin used only for baby feeding items
Scrub Every Part Thoroughly
Cleaning every bottle component individually is essential because milk residue often collects in small areas that are easy to miss. Therefore, use a dedicated bottle brush to clean the inside of the bottle and a smaller nipple brush for nipples, valves, and vents.
Pay special attention to:
- Bottle bottom
- Bottle neck
- Nipple holes
- Screw rings
- Anti-colic valves
- Bottle caps
Avoid using worn-out brushes, as they may not clean effectively and can harbor bacteria.
Rinse Thoroughly
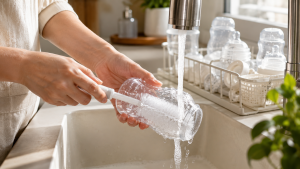
After washing, rinse every part under clean running water until all soap residue is completely removed. Even mild dish soap can leave behind residue if it is not rinsed properly.
A thorough rinse helps:
- Remove soap residue
- Prevent unpleasant taste
- Keep feeding equipment safe
Air Dry Completely
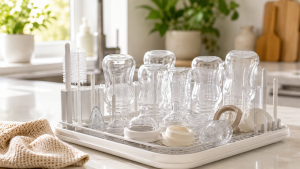
Place all bottle parts upside down on a clean drying rack. Then allow them to air dry naturally
Avoid drying bottles with kitchen towels because towels can transfer bacteria onto clean feeding equipment.
How to Sterilize Baby Bottles Safely
Cleaning removes dirt and milk residue, but sterilizing helps destroy harmful bacteria. Therefore, sterilization is especially recommended for:
- Newborn babies
- Premature babies
- Babies under 3 months
- Babies with weakened immune systems
Popular sterilization methods include:
Boiling Water
-
Place all bottle parts in a pot of boiling water.
-
Next, boil them for 5–10 minutes.
-
After boiling, remove the bottles with clean tongs.
-
Finally, allow every part to air dry on a clean rack.
Steam Sterilizer
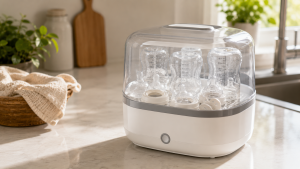
Electric steam sterilizers are quick, convenient, and effective for daily use. In addition, they are especially helpful for busy parents who need a fast and reliable option
Microwave Sterilizer
Many microwave sterilizers can disinfect bottles in just a few minutes. However, always follow the manufacturer’s instructions to avoid damaging the bottles or accessories.
UV Sterilizer
UV sterilizers use ultraviolet light to kill germs without water or chemicals, making them a convenient modern option. Moreover, they are useful for parents who want a low-effort sterilizing method.
Hand Washing vs. Dishwasher Cleaning for Baby Bottles
| Feature | Hand Washing | Dishwasher |
|---|
| Cleaning Quality | Excellent when done correctly | Excellent (top rack recommended) |
| Time Required | More time | Less time |
| Best for Delicate Parts | Yes | Check manufacturer instructions |
| Sterilization | Separate step required | High-temperature cycles may sanitize |
If your bottles are labeled dishwasher-safe, placing them on the top rack can save time. However, hand washing is often recommended for bottle nipples and small accessories to extend their lifespan. In addition, smaller parts are easier to inspect by hand for leftover residue or damage.
Common Mistakes When Cleaning Baby Bottles Safely
Even with the best intentions, some common habits can reduce bottle hygiene.
Avoid these mistakes:
- Leaving milk inside bottles for hours
- Forgetting to clean bottle nipples and valves
- Using dirty bottle brushes
- Drying bottles with kitchen towels
- Skipping regular sterilization for newborns
- Storing bottles before they are completely dry
Expert Tips to Clean Baby Bottles Safely
To make bottle cleaning easier and safer:
-
Wash bottles immediately after every feed.
-
In addition, replace bottle brushes every few months.
-
You should also inspect nipples regularly for damage.
-
For better hygiene, store clean bottles in a dust-free cabinet.
-
Before first use, sterilize all new bottles.
-
Finally, follow the manufacturer’s cleaning instructions.
How to Clean Baby Bottles Safely: Step-by-Step Guide
Step 1: Wash Your Hands
First, wash your hands thoroughly with soap and water before handling any feeding equipment.
Step 2: Take the Bottle Apart
Next, separate the bottle, nipple, collar, cap, and any valves so every part can be cleaned properly.
Step 3: Rinse Immediately
Then, rinse the bottle and all removable parts with cool or lukewarm water to prevent milk from drying
Step 4: Wash with Hot Soapy Water
After that, wash each part in hot, soapy water using a clean basin reserved for baby items.
Step 5: Scrub Every Part Thoroughly
Now, scrub the inside of the bottle, the nipple, and all small openings with the appropriate brushes.
Step 6: Rinse Thoroughly
After scrubbing, rinse every part under clean running water until no soap residue remains.
Step 7: Air Dry Completely
Finally, place all parts on a clean drying rack and let them air dry completely before reassembly
FAQs About How to Clean Baby Bottles Safely
Is it necessary to sterilize baby bottles after every use?
No. After the first sterilization, washing bottles thoroughly with hot, soapy water after each feeding is usually sufficient for healthy babies. However, regular sterilization is recommended for newborns, premature babies, or infants with weakened immune systems.
How often should I clean baby bottles?
Baby bottles should be cleaned immediately after every feeding. If milk is left inside bottles for long periods, bacteria can grow more easily and the bottles can become harder to clean.
Can I wash baby bottles in the dishwasher?
Yes, many modern baby bottles are dishwasher-safe. Place bottles on the top rack and follow the manufacturer’s cleaning instructions. In addition, smaller parts, such as nipples and valves, should be secured in a dishwasher basket to prevent damage.
What’s the best soap for cleaning baby bottles?
Use a mild, fragrance-free dish soap that is safe for baby feeding equipment. Avoid harsh chemicals or strongly scented cleaners that may leave residue behind.
How long should I boil baby bottles for sterilization?
Place the bottles and all removable parts in boiling water for 5–10 minutes. After boiling, carefully remove the items with clean tongs and allow them to air dry on a sanitized drying rack.
How do I know when to replace baby bottle nipples?
Replace bottle nipples if you notice:
- Cracks or tears
- Sticky or swollen silicone
- Discoloration
- Enlarged nipple holes
- Signs of wear that affect milk flow
Final Thoughts on How to Clean Baby Bottles Safely
Learning how to clean baby bottles safely is one of the easiest yet most important ways to protect your baby’s health. Proper cleaning removes milk residue, reduces harmful bacteria, and helps prevent stomach infections during the early months of life.
By washing bottles immediately after every feeding, using dedicated cleaning tools, allowing bottles to air dry completely, and sterilizing them when necessary, parents can create a safe feeding routine with confidence. In addition, consistent bottle hygiene not only supports healthy growth but also extends the life of your baby’s feeding equipment.
Whether you’re feeding breast milk, formula, or a combination of both, following the steps in this guide will help ensure every bottle is clean, safe, and ready for your baby’s next meal.