When I first got my Ninja Air Fryer, I wasn’t sure what to expect. Could it really make fries crispy without drowning them in oil? Would chicken come out juicy instead of dry? After months of experimenting, I can confidently say — this little countertop hero has earned a permanent spot in my kitchen.
It’s fast, efficient, and surprisingly versatile. From fries to fish, reheating pizza to baking muffins, my Ninja Air Fryer does it all with minimal cleanup.
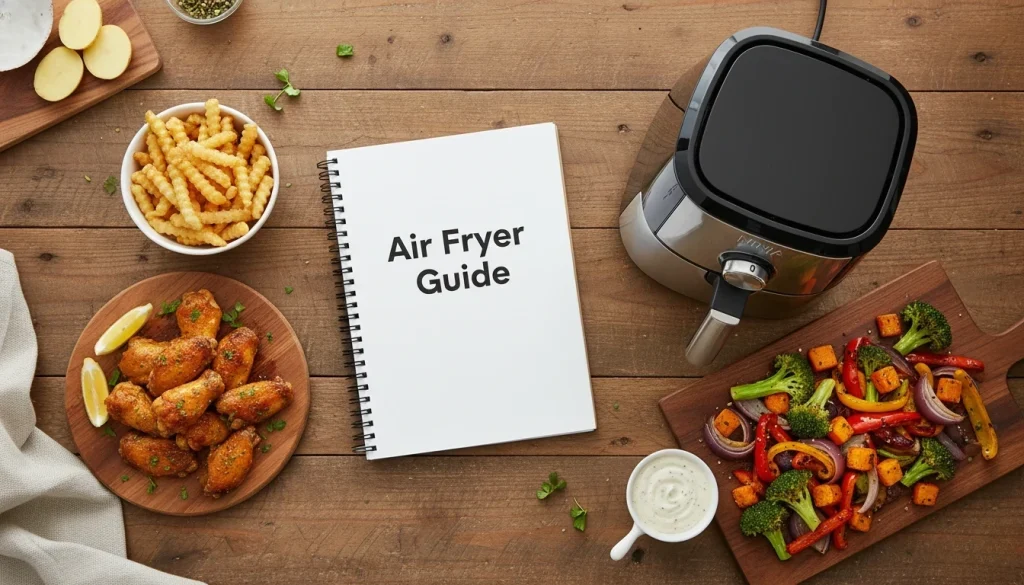
What You’ll Learn in This Guide
Before we start cooking, here’s a quick peek at what I’ll cover today — whether you’re brand new to air frying or already obsessed with your Ninja:
- How to set up and preheat your Ninja Air Fryer
I’ll show you exactly how to position it, insert the basket, and preheat for perfect results — even if it’s your first time using one. - My simple step-by-step process for perfectly cooked meals
From prepping ingredients to shaking the basket halfway through, you’ll learn the rhythm that guarantees crispy, evenly cooked food every time. - Tips for getting the crispiest results every time
Small tricks make a huge difference — like how much oil to use, when to shake, and the best temperatures for that golden crunch. - My favorite foods to cook in it
I’ll share the go-to dishes I make most often — from fries and chicken wings to veggies, salmon, and even baked snacks — all tested and loved. - Common mistakes to avoid
I’ve learned a few lessons the hard way (hello, soggy fries). You’ll skip those errors and get pro-level results right away. - How I keep it clean and running like new
A quick cleaning routine keeps your air fryer performing its best — I’ll walk you through exactly what I do after every use.
By the end of this guide, you’ll not only know how to use your Ninja Air Fryer, but also how to make the most of it — with less mess, less oil, and more flavor in every bite.
Why I Love Using the Ninja Air Fryer
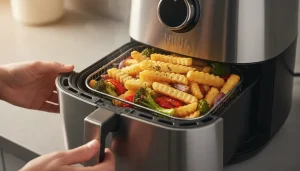
The best part about air frying? You get that satisfying crunch without the grease. The rapid air circulation technology in the Ninja Air Fryer creates a high-speed vortex of hot air that cooks food evenly on all sides. That means you get golden-brown fries, perfectly roasted vegetables, and crispy chicken wings — all with a fraction of the oil you’d use in traditional frying.
But the magic doesn’t stop there. The Ninja isn’t just about healthier cooking — it’s about convenience. It heats up in minutes (way faster than an oven) and doesn’t fill the kitchen with smoke or oil splatter. I can pop in a batch of fries or chicken tenders, press a few buttons, and walk away — no flipping, no babysitting. It quietly takes care of everything while I set the table or finish another dish.
What I love most is the consistency. Whether I’m reheating leftover pizza or cooking frozen fish fillets straight from the freezer, it always delivers the same crispy, delicious results. No soggy edges, no cold centers. Just perfectly cooked food every single time.
Plus, the versatility is a game-changer. The Ninja Air Fryer isn’t limited to “fried” foods — I’ve used it to bake muffins, roast chickpeas, toast nuts, and even make breakfast hash. It’s basically a mini convection oven that fits on my countertop, yet does the work of multiple appliances.
And let’s not forget about the cleanup — or rather, how little there is. Since it uses hardly any oil, the basket doesn’t get greasy, and everything washes off easily with warm soapy water. I can clean it up in under five minutes.
I use my Ninja Air Fryer almost every day because it saves me time, energy, and effort and, honestly, makes me feel like a kitchen genius when dinner is done in 15 minutes flat. It’s one of those rare gadgets that actually lives up to the hype.
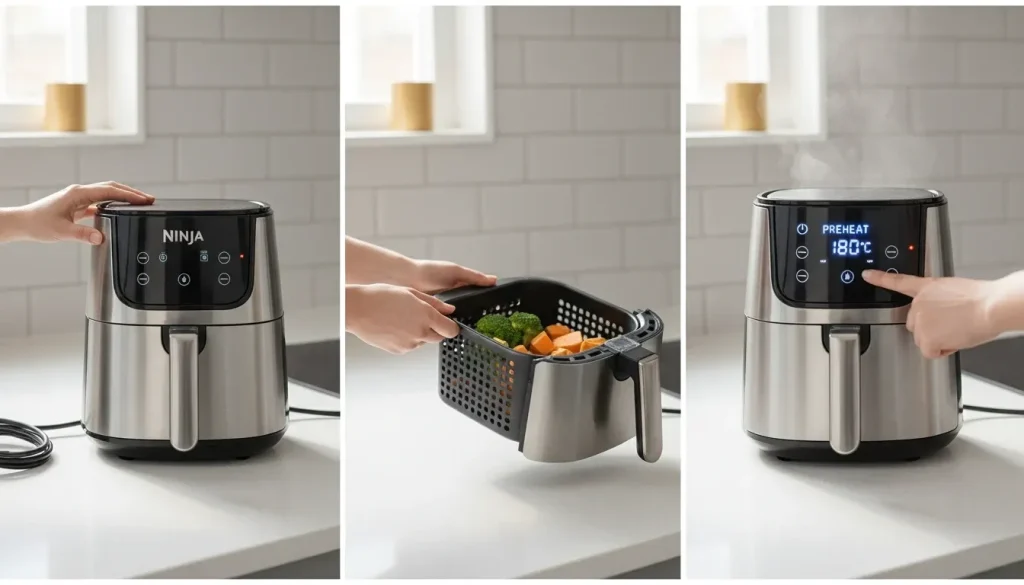
How to Set Up and Preheat Your Ninja Air Fryer
Before you start tossing in those fries or chicken wings, setting up your Ninja Air Fryer properly makes all the difference. It ensures even cooking, safe operation, and the best possible texture in every batch. Here’s exactly how I do it:
Step 1: Find the Right Spot
Start by placing your air fryer on a flat, heat-safe surface — like a countertop or kitchen island. Make sure it’s away from walls and cabinets so the hot air can circulate freely. I like to keep at least 5 inches of space on all sides to prevent overheating.
Also, avoid placing it under low-hanging shelves or near curtains. The air fryer vents get warm while running, and you want plenty of open space for that air to flow.
Pro tip: I keep a silicone mat underneath mine to protect the counter from heat and make cleanup easier.
Step 2: Insert the Basket and Crisper Plate
Next, slide in the basket and crisper plate (if your model includes one). The crisper plate sits at the bottom of the basket and helps air move underneath the food, giving it that extra crunch without needing much oil.
Make sure both pieces are clean and dry before starting. Any leftover moisture or crumbs from previous use can cause smoke or uneven cooking.
If you’re new to your air fryer, take a moment to check that the basket locks in properly — you’ll hear a soft click when it’s seated right.
Step 3: Preheat (Optional but Totally Worth It)
Technically, you can toss food in cold and start cooking right away, but I’ve found that preheating makes a noticeable difference. It helps food start cooking instantly and gives it that crispy outer layer we all love.
Here’s my go-to routine:
- Set the temperature to 180°C (350°F)
- Let it run for 3–5 minutes before adding food
During this time, I usually prep ingredients — patting them dry, seasoning, or giving them a light oil spray. By the time I’m ready, the air fryer is hot and ready too.
Some Ninja models have a built-in preheat function, but if yours doesn’t, simply run it empty for those few minutes. It’s quick, easy, and sets you up for perfect results.
Why Preheating Matters:
Preheating might seem like a small step, but it:
- Prevents soggy textures by starting the crisping process immediately
- Helps frozen food cook more evenly
- Reduces total cooking time
- Locks in moisture inside while crisping the outside
Think of it as the warm-up before the main workout — your air fryer performs best when it’s ready to go
My Step-by-Step Process for Perfect Air Frying
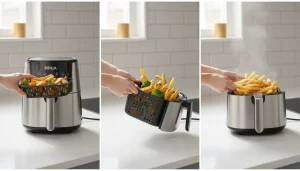
- Prep the Food
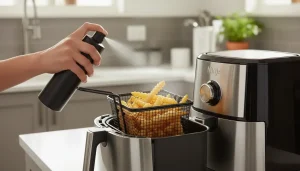
Pat ingredients dry and toss them with a light coating of oil — about 1 teaspoon per pound is enough. - Arrange in the Basket
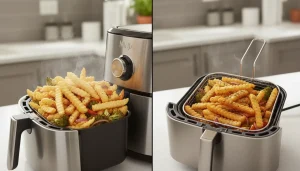
Don’t overcrowd. Give each piece a little breathing room so the hot air can circulate. - Set the Temperature & Time
Most foods cook beautifully at 180–200°C (350–400°F). The Ninja’s preset functions make this super easy. - Shake or Flip Halfway
Halfway through cooking, I give the basket a shake or flip the food for even browning. - Check for Doneness
The golden rule: check earlier than you think. The Ninja cooks fast! - Serve Hot & Enjoy
That crispy crunch right out of the basket? Irresistible.
My Favorite Things to Cook
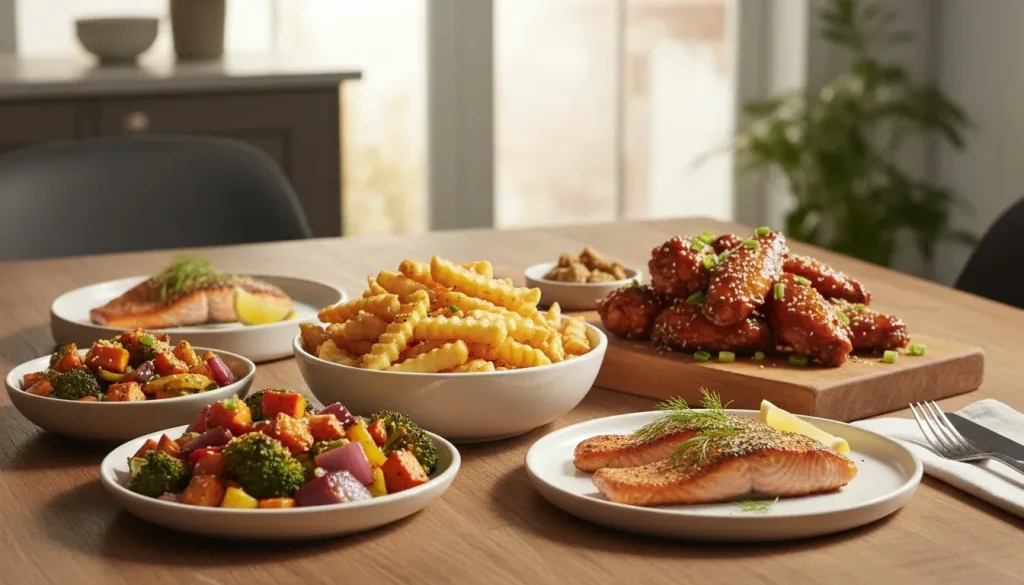
| Food | Temperature | Time | Tip |
| French Fries | 190°C (375°F) | 18–20 min | Toss halfway & sprinkle salt while hot |
| Chicken Wings | 200°C (400°F) | 22–25 min | Add a bit of baking powder for extra crisp |
| Salmon Fillets | 180°C (350°F) | 10–12 min | Brush lightly with olive oil and lemon |
| Vegetables | 190°C (375°F) | 10–15 min | Drizzle with oil and your favorite herbs |
| Frozen Foods | 200°C (400°F) | Varies | No need to thaw — just toss and cook |
Pro Tips for Crispy Perfection
- Don’t overcrowd the basket. Air needs space to move!
- Pat ingredients dry. Moisture = sogginess.
- A light oil spray works wonders. I use olive or avocado oil.
- Shake halfway through cooking. Keeps everything evenly crisp.
- Experiment with temperature. Higher isn’t always better — some foods need gentler heat.
Common Mistakes to Avoid
- Skipping preheat – leads to uneven cooking.
- Using too much oil – your food ends up greasy, not crisp.
- Forgetting to shake – one side burns while the other stays pale.
- Not cleaning after use – leftover crumbs can smoke next time.
How I Keep My Ninja Air Fryer Clean
Cleaning is quick and painless:

- Unplug & Cool – Always let it cool before washing.
- Remove the Basket & Crisper Plate – Wash with warm, soapy water.
- Wipe the Interior – A damp cloth removes residue easily.
- Avoid Abrasives – They can scratch the non-stick surface.
- Air Dry Completely – Keeps everything fresh and ready for next time.
I do this after every use — it takes just a few minutes and keeps my fryer like new.
Why the Ninja Air Fryer Is Worth It
It’s not just for fries. I’ve used mine to bake cookies, roast veggies, toast nuts, reheat leftovers, and even cook hard-boiled eggs. It’s basically a mini convection oven that fits right on the counter.
If you’re tight on time or want to cut back on oil, this gadget is a total game-changer.
FAQs I Often Get
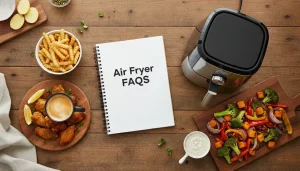
Q1: Do I need to preheat my Ninja Air Fryer?
It’s optional, but preheating helps food crisp faster and cook more evenly.
Q2: Can I cook frozen food directly?
Yes! No need to thaw — just adjust the cooking time slightly.
Q3: How much oil should I use?
A teaspoon or a few spritzes from an oil spray bottle is usually enough.
Q4: Is parchment paper safe?
Yes, but use it only after preheating and make sure it doesn’t block airflow.
Q5: How often should I clean it?
After every use. It keeps the air fryer odor-free and running smoothly.
Final Thoughts
My Ninja Air Fryer has become one of the most-used tools in my kitchen. It’s quick, efficient, and delivers amazing results without the mess of deep-frying.
Once you get the hang of it, you’ll wonder how you ever cooked without it. Crispy fries, juicy chicken, golden veggies — all with less oil and less effort.
If you’re curious about other kitchen tools that make cooking easier, check out my full guide on must-have kitchen essentials. I keep things practical, simple, and real — just like a good meal should be.