I still remember the first time I picked up my hand mixer. I thought, “Do I really need this gadget, or is it just another kitchen toy?” Fast forward a few weeks, and I couldn’t imagine baking without it. Small, powerful, and surprisingly versatile, this appliance quickly became my secret weapon for whipping up everything from fluffy cakes to creamy mashed potatoes.
In this guide, I’ll share my tips for using your hand-held appliance effectively, avoiding common pitfalls, and getting consistent, professional-like results every time.
What You’ll Learn in This Post
- The essential parts of your appliance and what they do
- Everyday tasks it can make faster and easier
- How to choose the right speed and attachment for different recipes
- Safety and maintenance tips to keep it working perfectly
- Tricks for more advanced uses you might not have considered
Understanding Your Appliance

Before diving in, it’s helpful to understand what makes your tool tick. At its core, it’s designed to make mixing, whipping, and light kneading easier and faster than doing it by hand.
Key Components:
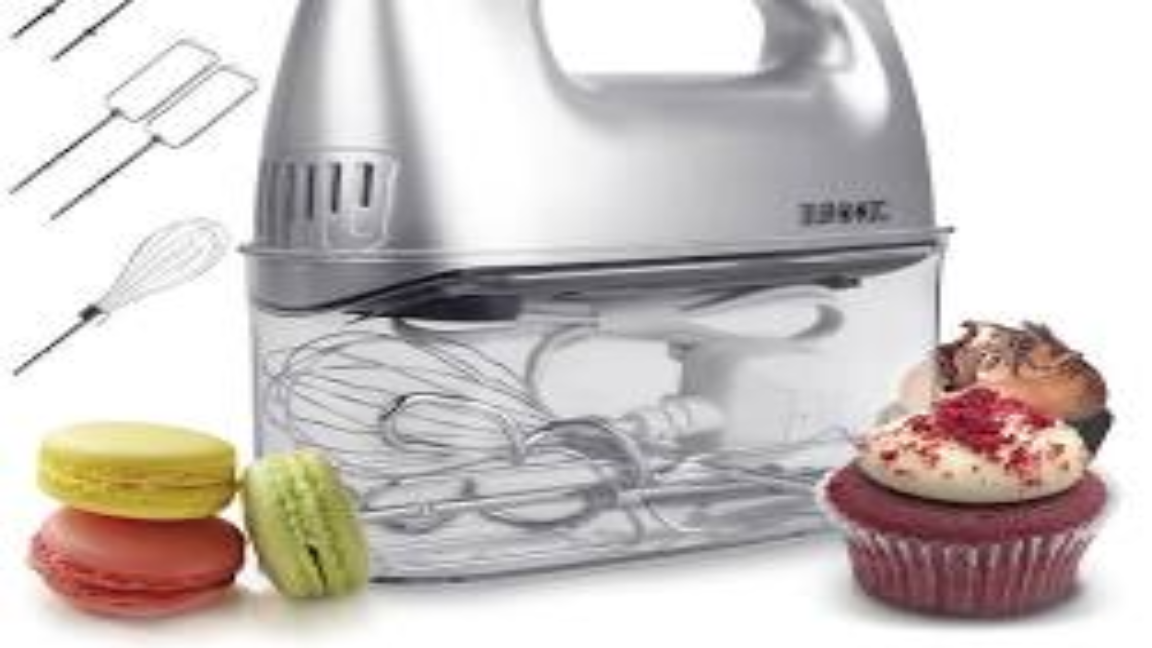
- Motor Unit: The heart of the appliance, powering every rotation Beaters: Standard attachments for most baking and cooking tasks.
- Speed Controls: Adjust the intensity for delicate or more demanding jobs.
- Optional Attachments: Whisks for aerating and dough hooks for softer doughs.
Knowing these parts makes it easier to choose the right attachment and speed, giving better results while avoiding messy mishaps.
Everyday Tasks Made Simple
I love showing friends how much a small appliance can do. Some tasks that used to feel like a workout are now effortless:
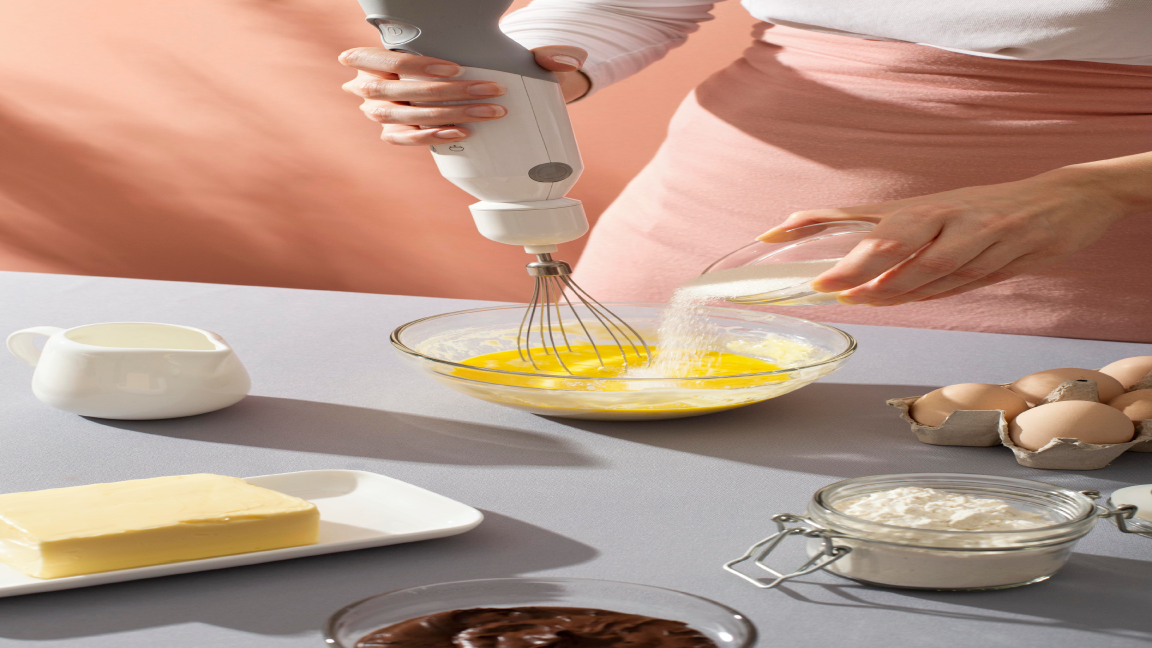
- Whipping cream or egg whites: Gets to fluffy peaks in seconds.
- Mixing batters: Cakes, cookies, or pancakes—no lumps, no fuss.
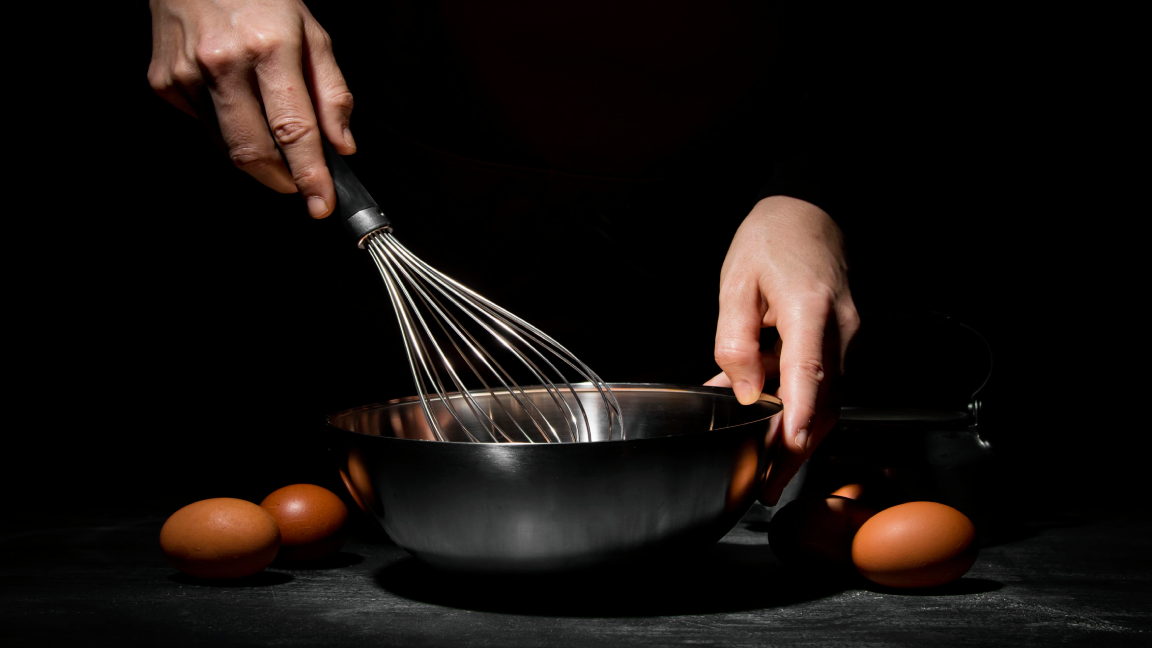
- Beating eggs for scrambles or omelets: Fluffier and faster than a whisk.
- Creaming butter and sugar: Achieves the perfect texture for desserts.
- Shredding warm cooked chicken: Works brilliantly for tacos, sandwiches, or salads.
- Mashing potatoes: Smooth and airy, without overworking the starch.
Even tasks you wouldn’t immediately associate with this gadget can benefit from it, making it surprisingly versatile.
Choosing the Right Speed and Attachment

One of the most common questions I get is: “How fast should I hand mixer?” It depends on what you’re making.
- Low speed: Start here to combine ingredients without splashing.
- Medium speed: Ideal for creaming butter and sugar, beating eggs, or hand mixer cake batter.
- High speed: Perfect for whipping cream, egg whites, or anything that benefits from incorporated air.
Attachments matter just as much:
- Standard beaters: Most general-purpose mixing tasks.
- Whisks: Aerate mixtures for meringues, whipped cream, or soufflés.
- Dough hooks: Great for soft yeast doughs like pizza or dinner rolls, but not heavy bread.
I always tell people: start slow, and gradually increase the speed. You’ll reduce mess and have more control over texture.
Advanced Tricks and Uses
Most people stick to the obvious tasks, but once you understand your appliance’s capabilities, you can expand its role in the kitchen.
Shredding Chicken
Forget wrestling with forks for shredded chicken. Place warm, tender chicken in a deep bowl, insert the beaters, and start on low speed. Once the meat begins to break apart, increase to medium. Circular movements ensure even shredding in under a minute.
Creamy Mashed Potatoes
You can achieve perfect mashed potatoes in record time. Start on low speed with hot, fully cooked potatoes. Slowly add butter, milk, or cream, increasing the speed slightly to incorporate air. For chunkier textures, pulse briefly without overmixing to avoid gluey results.
Salad Dressings and Emulsions
Use it to emulsify oil and vinegar for homemade dressings or mayonnaise. Low speed helps combine ingredients without splattering.
Soft Batters
For thin pancake or crepe batter, the appliance ensures uniform mixing without overworking the flour, giving you a consistent, smooth texture.
Common Mistakes to Avoid
Even a simple appliance can be misused. Here’s what I’ve learned (sometimes the hard way):
- Overmixing: This is especially true with cakes or potatoes. Too much hand mixer can make them dense or gummy.
- Wrong Bowl Choice: Shallow or fragile bowls can cause splatter or damage. I stick to deep metal or glass bowls for stability.
- Cold Ingredients: Butter, eggs, and dairy should be at room temperature for smooth mixing. Cold ingredients can create lumps or prevent proper creaming.
- Pressing Beatters Against the Bowl: This can chip or scratch ceramic or glass surfaces. Keep movements gentle and smooth.
Avoiding these mistakes saves time, improves results, and keeps your tool in good shape.
Hand mixing Cleaning and Maintenance
A little care goes a long way. Here’s my routine:
- Detach beaters immediately after use and rinse under warm water.
- Wash in soapy water or place in the dishwasher if safe.
- Wipe down the motor unit with a damp cloth; never submerge.
- Check vents and buttons for trapped food or dust.
- Store attachments together to prevent loss or bending.
Keeping it clean not only ensures hygiene but extends its life. Trust me, a few minutes after each session is all it takes.
Safety Tips
- Always start at low speed to avoid splattering.
- Ensure the beaters are fully seated before turning it on.
- Never immerse the motor in water.
- Use sturdy, heat-resistant bowls for safety.
- Keep fingers and loose clothing away from beaters while in use.
With these precautions, your experience will be safe and stress-free.
Is This Tool Worth It?
For most home cooks, it’s a game-changer. Small enough for limited counter space but versatile enough for everyday cooking, it’s ideal for:
- Busy families wanting quick prep
- Casual bakers who prefer smaller batches
- Beginners who want to skip the learning curve of larger appliances
Even if you own a stand mixer, this compact helper is perfect for small jobs or fast prep without the hassle.
Extra Tips for Maximum Efficiency
- Pre-measure ingredients: Saves time and reduces stress.
- Use chilled bowls for cream or egg whites: Helps achieve fluffier peaks.
- Don’t overload: For thicker doughs or batters, hand mixer in smaller portions to maintain control.
- Practice makes perfect: Experiment with different speeds and attachments to discover what works best for your favorite recipes.
Frequently Asked Questions
Can I knead dough with this appliance?
Yes, but stick to soft doughs like pizza or rolls. Heavy bread dough is better for a stand mixer.
How many watts do I need?
200–250 watts is sufficient for most tasks. 300+ watts is ideal for thick batters or doughs.
What’s the difference between a whisk and beater?
Whisks aerate mixtures for light, fluffy results, while beaters are better for general mixing.
Can I hand mixer in ceramic or glass bowls?
Yes, but use gentle motions and consider coated beaters to protect the surface.
Using this small but powerful tool has made a huge difference in my kitchen. From fluffy whipped cream to perfectly mixed batters, it’s efficient, easy, and fun to use.
Internal Link Suggestion:
For the best mixing experience, pair your appliance with a high-quality mixing bowl set for stability, safety, and optimal results.