A sharp knife is every cook’s best friend. Dull ones? They turn simple chopping into a slow workout. From my experience in how to sharpen kitchen knives, I’ve learned that keeping them sharp doesn’t require fancy tools or a trip to a specialist. With a few household items and a little patience, I can bring my blades back to life.
Here’s what I’ll cover today so you know exactly what you’ll learn before we start slicing (figuratively, of course):
- The tools I personally use to sharpen and maintain my knives
- Step-by-step methods that work at home
- Simple tricks that help keep the edge longer
- The real difference between sharpening and honing
- How I decide which method fits each knife
Why Sharp Knives Matter
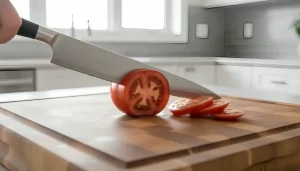
When a blade glides through tomatoes like soft butter, cooking becomes effortless and safe. A dull edge makes you push harder, increasing the risk of slips and accidents. Learning how to sharpen kitchen knives properly ensures not only prettier cuts but also a smoother, safer cooking experience.
I sharpen mine regularly because I like my prep work to feel easy. And honestly, I enjoy that small moment of pride when a freshly sharpened knife slides cleanly through herbs without bruising them.
If you’re curious about sharpening basics, I’ve written a full guide on knife sharpening techniques that breaks down each approach in more detail.
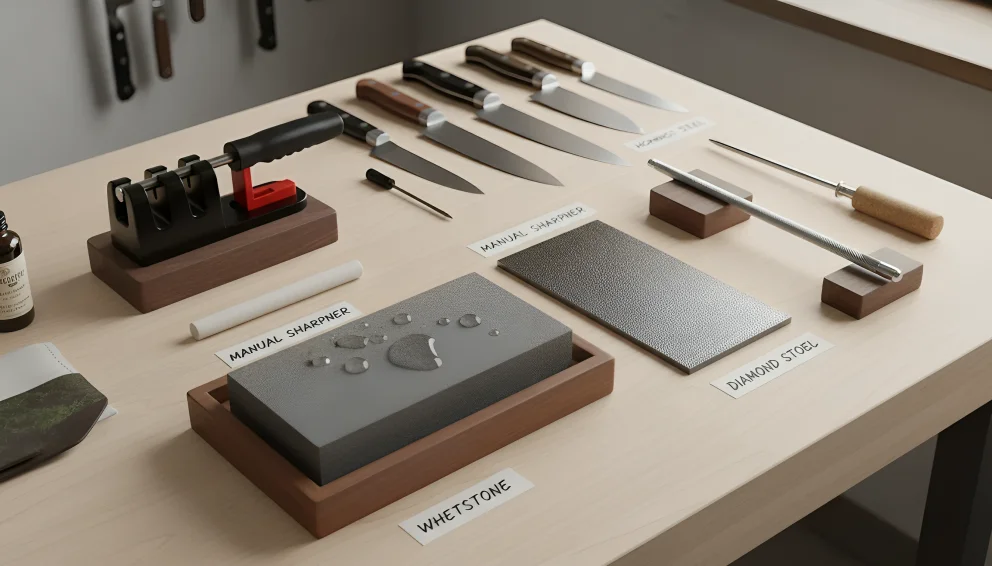
Tools I Use to Sharpen My Knives
You don’t need a professional setup or high-end gadgets to master how to sharpen kitchen knives. I keep my routine simple, and depending on how dull a knife feels, I pick one of these methods:
-
Sharpening Steel
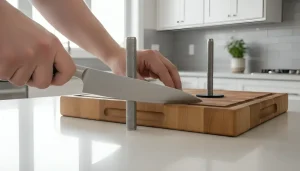
This is my quick fix between full sharpenings. It doesn’t grind metal off—it simply straightens tiny bends along the edge. I hold the knife at about a 20-degree angle and sweep it gently along the steel, alternating sides. A few strokes and it’s back in shape.
Think of it as morning yoga for your knife—it realigns everything and keeps the edge balanced.
-
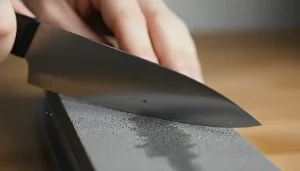
Whetstone
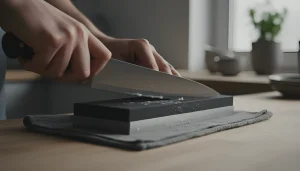
When my chef’s knife starts to feel sluggish, I turn to my whetstone. It’s slower than an electric sharpener but gives me total control. I place the stone on a damp towel to keep it steady, hold my knife at a steady angle (around 20–25 degrees), and push the blade across from heel to tip.
Ten to twelve passes on each side usually do the job. Then I repeat with the finer side to polish it. It’s quiet, rhythmic, and honestly, a little therapeutic.
-
Ceramic Mug Trick
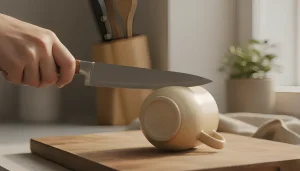
If I’m away from home or just don’t feel like digging through drawers, I grab a ceramic mug. The rough ring underneath works as an emergency sharpener. I run the blade gently along that ring at the same 20-degree angle. It’s slow but effective.
I call it my “lazy Sunday” sharpening method—no fancy gear, just coffee and a mug that multitasks.
-
Manual Sharpener
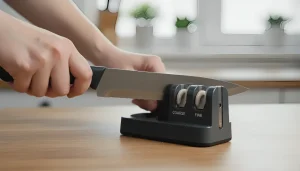
When I’m short on time, I use a handheld sharpener. It has preset slots with small wheels that make sure the angle stays consistent. A few passes through the slot and my blade feels brand new.
This one’s foolproof. Even my friend who once tried sharpening with sandpaper (long story) can’t mess it up.
-
Diamond Stone
For blades that have really suffered, I use a diamond sharpening stone. It removes material faster and keeps its grit longer. I go slow and steady—light pressure, smooth passes, alternating sides. The edge becomes mirror-clean and razor-sharp again.
If you’re upgrading your sharpening tools, a good diamond stone is worth every penny.
-
Leather Strop
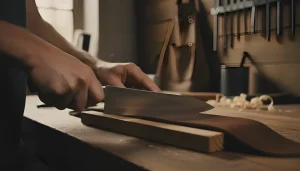
After sharpening, I finish with a leather strop. It polishes and refines the edge. I pull the knife backward, edge trailing, a few times on each side. That final step turns a “sharp” blade into a silky-smooth cutter.
There’s something satisfying about seeing your reflection on a perfectly honed edge.
How I Keep My Knives Sharp Longer
Sharpening takes time, so I do what I can to make the results last. These habits keep my knives happy:
- Use a honing rod often. A few quick strokes before each cooking session keep the edge aligned.
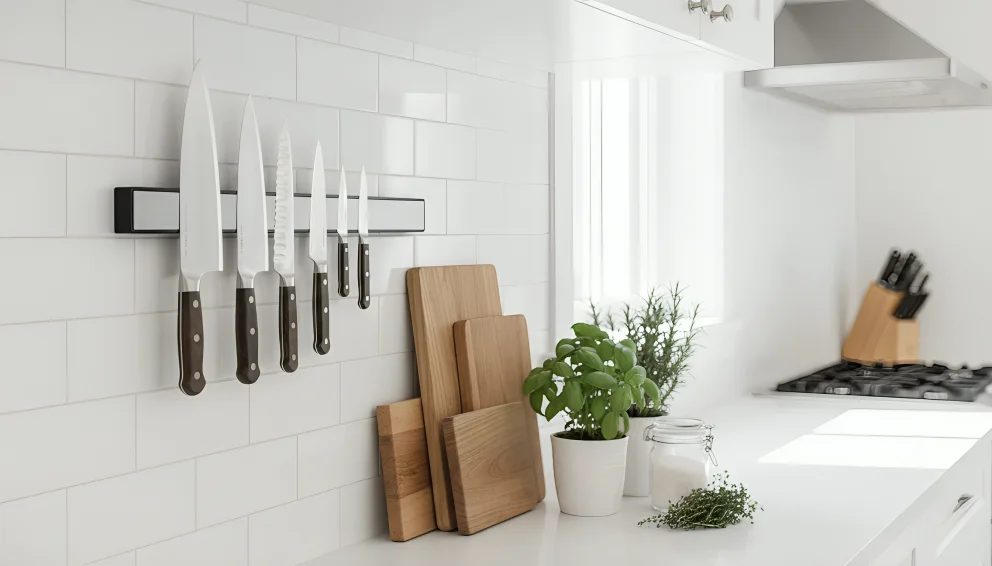
- Cut on gentle surfaces. Wood or plastic boards are my go-tos. Marble and glass are knife-killers.
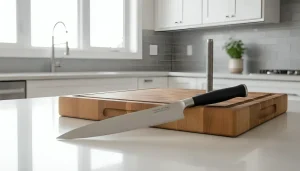
- Handle with care. Tossing knives into drawers is a crime against sharpness. I keep mine in a block or on a magnetic strip.
- Avoid bones and metal surfaces. I use a separate cleaver for hard cuts. Regular knives deserve better treatment.
- Hand-wash only. The dishwasher might seem tempting, but high heat and detergent ruin fine edges. A quick rinse and dry by hand works best.
Small habits like these stretch out the time between sharpenings and save effort later.
Sharpening vs. Honing — What’s the Difference?
People often use these words like twins, but they’re not.
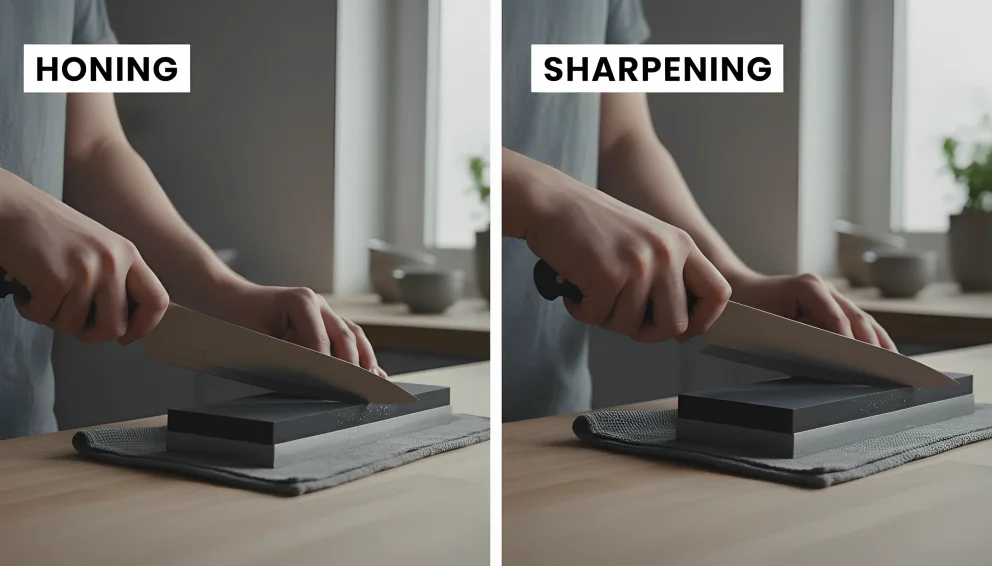
Sharpening removes a tiny bit of metal to reshape the edge. Think of it as giving the knife a haircut—it takes off just enough to refresh the look (and performance).
Honing, on the other hand, doesn’t remove metal. It simply pushes microscopic teeth back into place. So, if your knife still cuts but feels a little dull, honing usually fixes it.
When even honing can’t help, it’s time for real sharpening. I can usually tell by the feel—if slicing an onion feels like sawing wood, it’s sharpening day.
My Step-by-Step Process for a Proper Sharpen
- Secure your station. I place a towel under my sharpening surface to stop slipping. Safety first.
- Set the angle. I stick to 20 degrees for most Western knives and around 15 for Japanese ones.
- Start with coarse grit. A few steady passes on each side rebuild the edge.
- Switch to fine grit. This smooths out any scratches and polishes the edge.
- Finish with a strop. The final few strokes on leather make a huge difference.
That’s it—simple, precise, and effective. The trick is consistency. The more you practice, the more natural it feels.
My Personal Sharpening Schedule
I use my chef’s knife daily, so I sharpen it every three months and hone it every few days. Smaller knives get sharpened twice a year. If I’m prepping large meals or cutting tougher ingredients often, I might do it sooner.
For anyone who cooks regularly, sharpening every 3–6 months works well. If you’re using your knives occasionally, once a year might be enough.
Mistakes I Learned to Avoid
Experience comes with its fair share of funny stories and small disasters. From my own mishaps, I’ve learned a few important lessons about how to sharpen kitchen knives safely and effectively

- Pressing too hard. I once thought “more pressure means sharper.” It doesn’t. Light, steady passes win.
- Using the wrong surface. I tried sharpening on a metal tray once. Let’s just say, the tray won.
- Skipping the cleaning step. Metal dust can linger, so always wipe the blade after sharpening.
- Mixing grits without cleaning the stone. It’s like mixing salt and sugar—you’ll regret it later.
Learning from those mistakes has made my sharpening routine smoother—and safer.
How I Choose the Right Method
Every knife has its mood. My paring knife loves the whetstone. The heavy cleaver prefers the diamond stone. And the bread knife? It stays out of this conversation altogether.
I pick the method based on:
- Blade condition – A slightly dull one just needs honing. A chipped one deserves the full whetstone treatment.
- Time available – Ten minutes means the manual sharpener. An hour on a quiet Sunday means the stone.
- Material – Softer stainless steel responds well to ceramic; harder carbon steel likes diamond grit.
Over time, you’ll sense what each blade needs—almost like they whisper for attention.
Small Add-Ons That Help
Besides my main sharpening tools, I’ve gathered a few handy accessories that make how to sharpen kitchen knives easier and more precise:
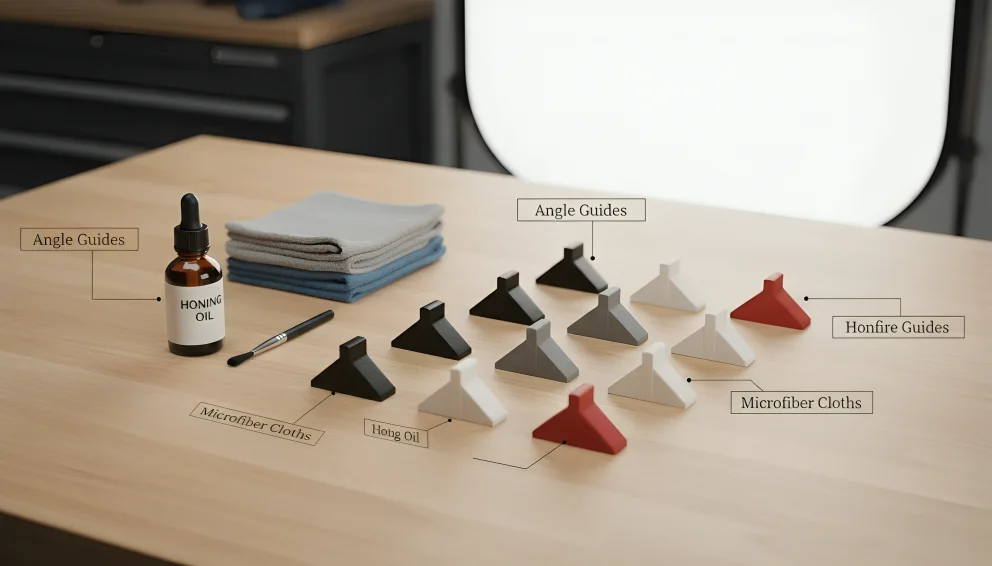
- Angle guide clips – These help me maintain consistent angles while I sharpen.
- Lubricants – A few drops of water or honing oil prevent overheating.
- Microfiber cloths – Great for wiping the blade clean between passes.
Simple things, but they make the job cleaner and more precise.
FAQs I Often Get
Q1: How often should I sharpen my knives?
For daily cooking, I do it every few months. Honing weekly keeps them sharp in between.
Q2: What’s the easiest home method?
A handheld manual sharpener wins for convenience. It’s reliable and doesn’t require skill.
Q3: Can I sharpen without tools?
Yes—try the ceramic mug method. It’s surprisingly effective when you’re short on options.
Q4: Does toothpaste work?
No. It’s too gentle. Save it for your teeth.
Q5: How do I know my knife is sharp enough?
If it cuts through paper smoothly or glides through a tomato without effort, it’s ready.
Final Thoughts
Keeping knives sharp isn’t complicated once you understand how edges behave. I see it as basic kitchen maintenance—like washing pans or seasoning cast iron.
The reward? Every chop feels clean and controlled. Plus, there’s something oddly satisfying about hearing that crisp shhkk sound when a blade meets the board perfectly.
If you’d like to explore more on caring for your cookware, I’ve shared other practical guides over on Stahl Kitchens Blog. I keep things simple, clear, and real—just like a good knife should be.